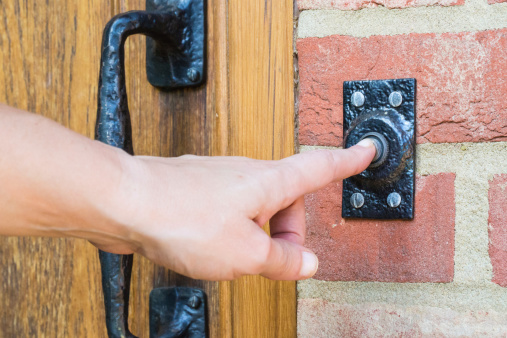
 Maybe this scenario sounds familiar: you're expecting someone to arrive at your home, but instead of hearing the doorbell ring, your phone rings instead.
On the other end is your expected visitor, wondering where you are. You respond that you're right where you're expected to be: at home, waiting for their arrival.
What's going on here? It's a broken doorbell, and learning how to fix it is the subject of this, the third article in a series of articles on household electrical repairs that are now appearing on the Experts In Your Home blog. (The first two articles explain how to safely change a light bulb and how to repair an extension cord).
The Problem
Most of the time, when a doorbell doesn't work, it's the button that's the problem. Over time and repeated use, the button is bound to wear out. But the culprit also could be the wiring, the chime or (least likely) the transformer. So that's exactly the order in which we'll proceed to troubleshoot this electrical repair.
Those of you with wireless doorbells might be chuckling right now. Rewire a doorbell, you may be wondering? Seriously?
It's true that wireless doorbells require you only to replace the batteries. And some of today's models include some truly nifty features, such as a camera and intercom.
But if you have a charming, vintage doorbell in an older home that you consider part of your home's appeal, you may not want to part with it. Plus, there's a straightforward process involved with this electrical repair that mirrors others. So learning this one will help you champion others as well.
Grab your screwdriver, pliers, and learn how to fix your doorbell
- Remove the doorbell button with a screwdriver (or even a putty knife). Disconnect one wire from the terminal and bypass the button by bringing the wire into contact with the other terminal. If the bell rings, you will need a new doorbell button. These should be available at your local home improvement store.
- Inspect the wires for damage. Most doorbells consist of about three wires tucked inside a plastic sheath, so also look for sections where the sheath may be pinched. If you find a broken wire, strip the broken ends and rejoin them with wire connectors. If there is not enough slack between the ends to allow for new connections, you'll need to add a short section of 18-gauge wire (and the color doesn't matter).
- Remove the chime cover inside your home while an assistant presses the outdoor button. Here, you might find one of two problems: there is a loose wire or the armature rods—which strike metal bars to create sound—are stuck. So check that the wires are firmly attached to the screw terminals. Test the chime with a low-voltage tester by touching the common terminal with one of the probes on the tester. If the tester lights up, then there's a problem with the chime. Choose the path of least resistance by first cleaning the armatures with rubbing alcohol and a cotton ball. If the chime doesn't ring, replace it. (And you guessed it: you'll find chimes, too, at home improvement stores.)
- Test the transformer by touching the screw terminals with a low-voltage tester. Most likely, the transformer is located on a metal junction box near your HVAC system, in which case you can replace it yourself. Just be sure to turn off the power to the circuit first. But if the transformer is located on the main electrical panel, contact a licensed Chico electrician—like those at Experts In Your Home—to make this serious electrical repair.


