 Experts In Your Home has been at the service of Northern California residents since 1948, but some things haven't changed: our customers are economical and appreciate the value of a dollar.
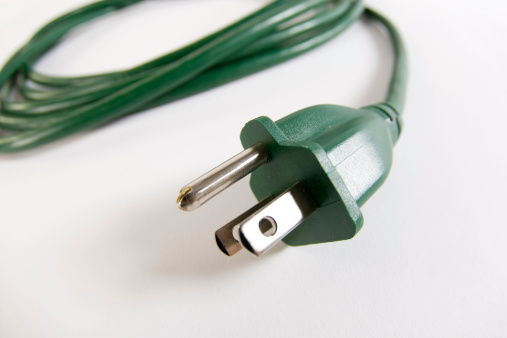
We see the proof every day, especially when we notice extension cords dangling from hooks in garages and basements. More times than not, we learn that many of these cords—and especially the prongs on these cords—have become damaged in some way. Knowing that extension cords can cost a pretty penny, our customers don't want to throw the cords away, but they also aren't certain if (or how) they can be repaired, either.
These customers are the inspiration for this article, on how to repair an extension cord, the second in a series of articles on basic electrical repairs that are now appearing on the Experts In Your Home blog. We know that our customers don't lack the enthusiasm for do-it-yourself electrical repairs; they lack only the information to approach them with confidence.
As with all the articles in this DIY series, we must underscore that while we value determination, we champion safety above all else. That's why it's important to point out that when we say we will explain how to repair an extension cord, we mean how to replace the plug.
There's a big difference between this kind of repair and splicing extension cords, because even if you solder the wires, wrap them in electrical tape and safely shroud them in tubing, the cord will not boast the same abrasion resistance of a new cord. More importantly, this kind of “repair” is not condoned by the National Electrical Code.
So keep reading if the end or prong of one or more of your extension cords has fallen into disrepair. It happens, especially after many attempts to straighten a wayward prong or a crushing accident. So unwind those cords from their hooks and get ready to press them back into action after a few steps.
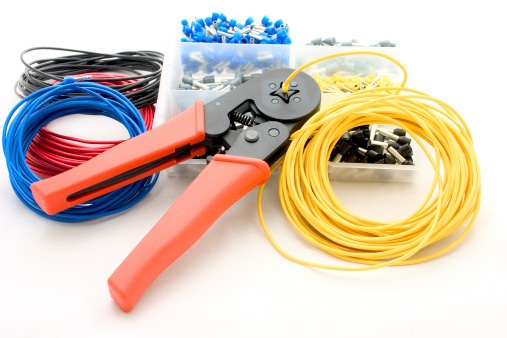
Materials you will need:
- A new plug
- Utility knife
- Wire stripper/cutter
- Screwdriver
- Needle-nose pliers (optional)
- Plug-in circuit tester
Like all electrical repairs, this one deserves your undivided attention. So eliminate any distractions before you:
- Cut off the damaged plug with a utility knife.
- Score the insulation jacket about ¾ inch from the end of the cord. Be careful not to slice through the cord. The goal here is to simply score the jacket until you can break it off without cutting the three wires inside.
- Strip about ½ inch of insulation from each end of each wire with a wire stripper/cutter. Twist the ends of the wires to keep them from fraying.
- Open the new plug so that you can access the terminals inside. Attach the three pieces of exposed copper to the corresponding terminal screw: the white wire to the silver terminal, the black wire to the gold (or brass) brass terminal and the green wire to the green terminal.
- Check your work carefully before wrapping each wire clockwise around the respective terminal and tightening each screw securely with a screwdriver.
- Close the replacement plug and screw it together tightly so the cord is locked inside.
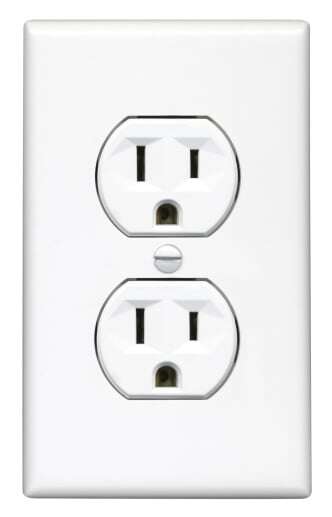
- Test the cord to ensure that it works properly. Plug it into a three-prong receptacle. Fit a plug-in circuit tester onto the other end of the cord. The tester lights will tell you if the wires are connected correctly and the cord is grounded.
Knowing how to repair an extension cord is a skill that can save you lots of money on replacement cords in the future. But then, as one of our smart customers, you already know that.
Find out which electrical repairs aren't safe to DIY - Download the FREE Guide below:
Related Articles:
Electrical Repairs You Can Do Yourself [Series]
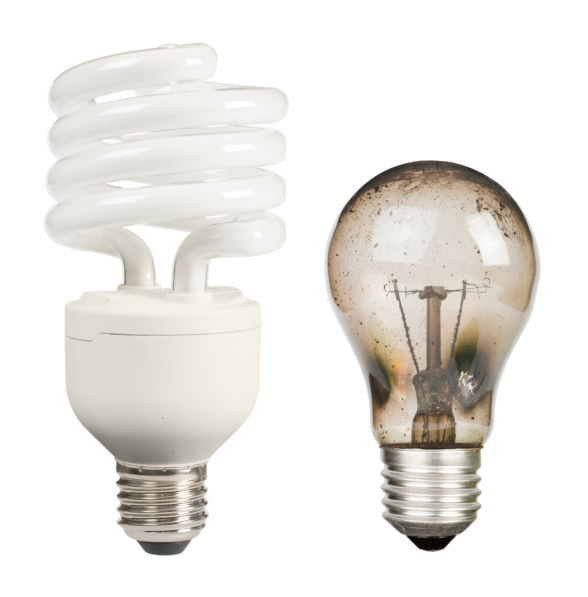
DIY Electrical Repair: How to Safely Change a Lightbulb
.jpg)
.jpg)