 In living and family rooms, home offices and especially kitchens, overhead lighting can mean the difference between clearly seeing a task and straining to see it at all. But at full power, those same lights can sometimes be annoying, especially if you're relaxing with a movie or otherwise wish to set a moodier atmosphere.
Many homeowners tend to forget that they can enjoy the best of both worlds – bright light and soft light – with dimmer switches. And from what we've seen at Experts In Your Home, every home has at least one light (somewhere) that would be enjoyed far more if a dimmer were in place.
That's why we've been inspired to make replacing/installing a dimmer switch part of our ongoing series of do-it-yourself electrical repairs, which are posted on our blog. If you've been following along, you know that we emphasize safety. So while we hope to save you the cost of hiring an electrician for basic electrical repairs, you must know that if your home has aluminum wiring (which is gray) instead of copper (which is orange), you should call a local electrician, who is certified to defuse this potentially dangerous situation.
Either way, you'll save money in the end because each dimmer can save between 4 and 9 percent in electricity over a regular light switch – and that's savings that can really add up, room by room, in your home.
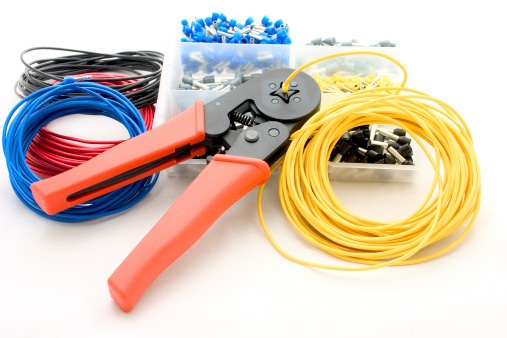
Before you get started, gather the tools you'll need for this electrical repair:
- Electrical tape
- Long-nose pliers
- Screwdrivers (Phillips and slotted)
- Voltage tester
- Wire connector nuts
- Wire cutter
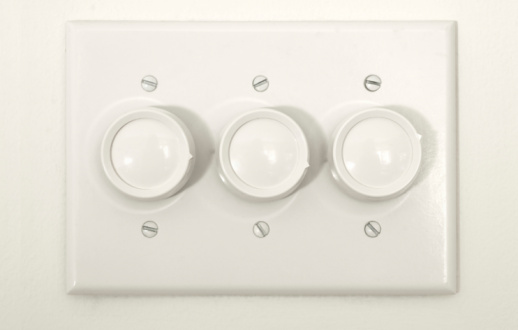
Purchase a dimmer after ascertaining the number of switches that control the light. If the switch you're replacing is the only one that controls a light, buy a single-pole dimmer. If the light can be turned on an off from two or more switches (or locations), buy a three-way dimmer and one three-way switch. Most dimmers fit within a standard box opening, but measure it anyway before proceeding with this electrical repair.
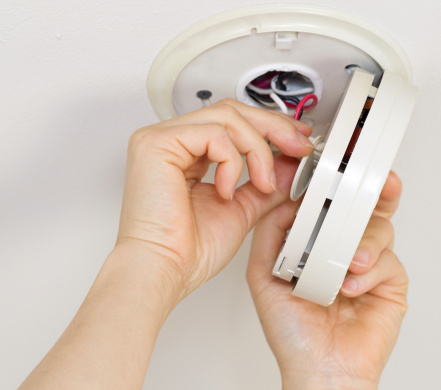
After cutting the power at your circuit breaker box, you're ready to:
- Remove the wall plate and screws and gently pull the switch away from the wall
- Test the wires with the voltage tester to ensure that no power is flowing to the circuit
- Identify the common wire by wrapping it in electrical tape; the common wire screw should be marked “common.” (Conversely, the ground wire should be connected to the green screw).
- Disconnect all the wires from the existing switch
- Connect the new switch for a single-pole dimmer by: connecting the ground wire in the dimmer to a bare copper or green wire in the wall box, twisting the wire ends together and capping them with a wire connector nut. Now connect the dimmer wires (usually black) to the two house wires (which may be black, red, or white with black marks) by twisting them together and capping them with a wire connector nut.
- Connect the new switch for a three-way switch by: connecting the ground wire in the dimmer to a bare copper or green wire in the wall box, twisting the ends together and capping them. Then connect the black dimmer wire to the common wire and remove the electrical tape. Connect the two other dimmer wires to each of the remaining wires in the wall box.
- Tuck the wires into the box, tighten the screws that secure the dimmer to the electrical box and attach the wall plate.
Now you're ready to turn on the power and test the dimmer – and remember to call Experts In Your Home if you need any help at all along the way, or with other electrical repairs. Our licensed electricians are right here in the Chico area to help.
Be sure you know which electrical jobs NOT to do yourself by getting the FREE Guide below:
.jpg)
.jpg)