 We take shortcuts when we clean. Besides, who will ever notice that we didn't move the couch and vacuum underneath it?
We take shortcuts when we cook. Besides, who will ever notice that we didn't peel the red peppers before we tossed them into the casserole?
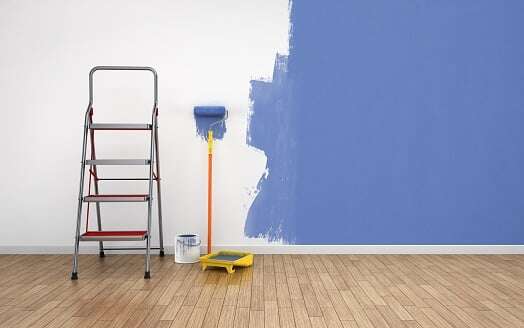
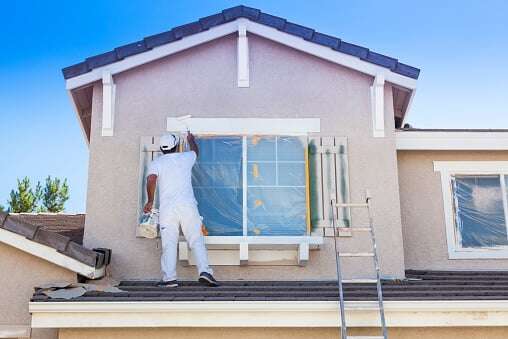
But take shortcuts when you paint and everyone will surely notice – even if they're too polite to say so.
No matter how skilled you are with a brush, no matter how deftly you can swirl Ws on a wall with a roller, there is no way that paint will disguise a bump, stain or other protruding imperfection lurking under the surface. The home painting experts at Experts In Your Home know full well: prepping a wall for paint usually takes more time than actually painting it. But it's worth every second you invest, for the result will be a smooth, polished look that everyone will notice, especially you.
Home Painting Prep Pays Off
Set aside plenty of time to prep a wall for paint – and then double that estimate for good measure. Perhaps more than any other household project, home painting prep can take time to finesse and get right. Rest assured that the time you invest will pay off later when you:
- Remove obstructions such as curtain rods, door hinges, fixtures, outlet covers, switch plates and other hardware.
- Survey the wall up-close – not from a distance – for dirt, stains and scuffs. Left untreated, even faint stains can bleed through paint. A damp cloth should remove many stains; use a mixture of mild dish soap and water and a soft sponge to remove others.
- Use a putty knife to gently remove loose or flaking paint from the wall. Sand the area with fine-grit sandpaper until it is smooth to the touch.
- Sand gloss from the wall – in the form of paint or faux effects – with fine-grit sandpaper.
- Fill cracks, holes and splinters with spackling compound. Press the compound into gaps with a putty knife, smooth it until it is flush with the surface and allow it to dry before sanding it smooth.
- Vacuum the wall from top to bottom with a soft brush attachment. Then wipe the wall with a tack cloth to remove any remaining traces of dust.
- Wash the wall with a mixture of mild dish soap and water or mild detergent. Wipe it dry with a tack cloth and then allow the wall to dry completely.
- Apply painter's tape so that you can apply paint unencumbered. Affix it around doors, windows, cabinets, trim and other architectural details. Once in place, take the extra step of securing the tape with your fingers or a spoon so that paint doesn't seep underneath.
- Create a “clear zone” so that you can move around freely, and spread drop cloths.
Consider a Short Primer on Primer
Our home painting experts are sticklers for quality, which is why they use primer and advocated its use in a previous article, “What to know when it's time for interior home painting.” They know that primer can enhance paint's ability to provide a durable top coat while often reducing the number of coats that are necessary to achieve full coverage and a smooth finish.
At the same time, they are well aware that many people do not believe that priming is necessary, especially if a painted surface is in good shape, with no stains or chips, and they are not trying to cover an oil-based paint with latex. The choice is yours, of course, but always apply primer to:
- Untreated or raw wood
- New drywall
- Walls that are about to undergo a drastic change in color (especially from dark to light but also from light to dark)
Be sure to use a stain-blocking primer in high-humidity and high-moisture rooms, such as the kitchen, bathrooms and laundry room to reduce the chance of the paint flaking, peeling, bubbling or blistering.
You also might wish to try “self-priming paint,” which combines primer and paint in one can. Just remember that this is one of those times that you will get what you pay for, so choose a premium brand for the best result.
If you get stuck along the way – and that's no painting pun – don't forget that the home painting experts at Experts In Your Home are one phone call away. No, we don't take shortcuts, but we think you'll be pleased with the “route” we take to achieve the look you dream of in your home.

