When it comes to your floors and outdoor walkways, keeping them clean can make a big difference in the presentation of your home. More importantly, sparkling clean floors and walkways can help you enjoy your home more and can even help your flooring surfaces last longer. In this blog post we're going to cover tile floors, wood floors, carpet, and outdoor patios and sidewalks.
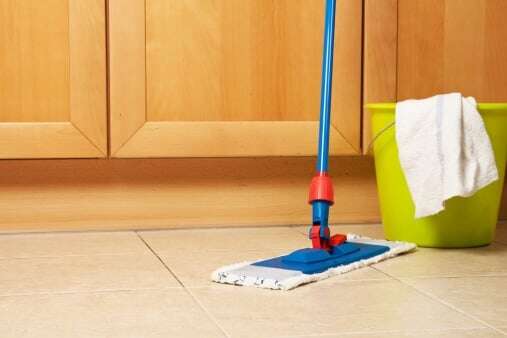
Making Tile Floors Sparkle
There is a little more than water involved in keeping tile flooring looking its best. But when we say “little,” we mean very little. If you haven't fallen in love with your ceramic or natural stone tile floor by now, you will when the Experts reveal how blissfully low maintenance tile flooring really is. Here are our tips on how to clean tile flooring:
Stay on Top of Dust and Dirt
You can get away with cleaning your tile with water alone as long as you remove dust, dirt and crumbs first. So get into the groove by using a broom, dry mop or vacuum on a regular basis. How “regular” depends on your habits and lifestyle. Unless you have a furry pet, you may not have to sweep, dry-mop or vacuum your tile floor every day; an every-other-day cleaning rotation should suffice.
Your goal is to keep the surface clear; while dust, dirt and crumbs look harmless, they can have the same abrasive effect as sandpaper: dulling the surface and eventually eroding the integrity of the tile itself.
If you're going to use a vacuum, inspect the wheels first. Metal and plastic can scratch tile. Whatever you choose as a cleaning tool – even a feather duster on a particularly busy day – this task should take only a few minutes. The Experts consider this fairly low maintenance for the payoff of high-intensity enjoyment.
Watch Water Work its Wonders
With the surface dirt gone, you can let water work its wonders on your tile flooring. Fill a bucket with tepid water, dip a soft mop into the water, wring it out and wipe the floor. If and when the water turns dark, replace it with a fresh batch.
Seeing really is believing – and what you'll see is clean and shiny tile.
If You Must, Use Soap On Stone Tile
Your sweet-and-simple maintenance regimen should serve you well most of the time. But there probably will be times when you see that your floor is dirtier than usual, such as after you host a party with lots of people or even a few people who do not remove their shoes at the door and track dirt all over your floor.
For times like these, use white vinegar on ceramic tile and reach for that trusty standby – soap – for natural stone tile, such as granite, limestone, marble, slate or travertine. Bolster the water in your 1-gallon bucket with:
- 1 cup of white vinegar for ceramic tile
- 1 tablespoon of Murphy Oil Soap for stone tile
Be certain not to confuse these two directives. Soap can cling to ceramic and leave a “fog,” though you can remove it by going over the floor again with water only. In this case, the Experts are trying to save you a step by using white vinegar; it leaves no residue behind. While white vinegar is a terrific cleaning agent, its acidic qualities clash with natural stone. Like lemon juice (which contains citric acid) or commercial cleaners (which can contain hydrochloric or sulfuric acid), it should never be used on natural stone.
Don't Overlook the Grout
Eventually, you probably will need to apply extra elbow grease to the grout on your tile floor. Grout is porous, meaning that it traps dust, dirt, oil and grease. Even a clean tile floor will look dingy if the grout lines are dirty. For this job, sprinkle some baking soda into a small bowl and add enough water to make a paste with a consistency similar to toothpaste. Rub this mixture along the grout lines with a soft rag, let it sit for 30 minutes and then remove it with a wet rag. If the stain persists, do not resort to using a scouring pad or steel wool. Instead, let the baking soda mixture sit for a few hours or even overnight. Given enough time, baking soda also can work wonders.
We like to think the Experts can, too, which is why you should never hesitate to call us with questions about caring for your tile flooring. Our “active ingredient” is active concern for our customers.
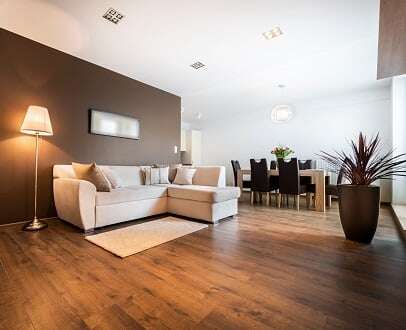
Keep Wood Floors Looking New
Identify your floor type
There are four basic types of wood flooring:
- Surface-sealed wood floors are sealed with polyacrylic, urethane or polyurethane. This type of wood floor is most resistant to stains and water – though only to a point, so be careful not to get carried away with that soap and water.
- Penetrating-seal-treated and oil-treated wood floors feature a seal that soaks into the wood grain and hardens. This type of wood floor must be pampered with a liquid or paste wax.
- Lacquered, shellacked and varnished wood floors generally are not as resistant to stains and water as other surface-sealed wood floors.
Untreated wood floors
If you're uncertain about which type of wood floor you have:
- Consult the manufacturer's instructions that accompanied your wood floor.
- Rub your finger across the floor. If no smudge appears, your wood floor probably is surface-sealed. If a smudge does appear, your wood floor probably has been sealed with lacquer, shellac or varnish.
- Call the floor care specialists at Experts In Your Home so we can inspect your floor.
Remain vigilant about dirt
No matter which type of floor you have, basic care begins with keeping the floor as clean as possible. As Experts In Your Home pointed out in a previous article, “Floor Care Tips: How to Keep Wood Floors Looking Like New,” two cleaning tools are vital:
- A dry microfiber mop or a high quality, soft-bristle broom
- A vacuum without a beater bar
Use the mop or broom every day and the vacuum at least once a week to remove dirt, dust and food particles between floor boards. These elements pose the greatest threat to your wood floor since they act like sandpaper particles in scratching and gradually degrading the finish of a wood floor.
Follow the manufacturer's advice
If you also strategically place area rugs and runners in high-traffic areas, you might have to get down on your hands and knees and clean your wood floor with a damp cloth only periodically. You'll know when your floor could benefit from a more thorough cleaning. This is when knowing which type of wood floor you have is vital. As the Wood Floor Covering Association warns:
- “Hardwood flooring manufacturers of prefinished wood floors have specific recommended cleaning products for maintaining the wood floor's finish. It is best to use their recommended cleaning products and follow their instructions so you do not void your warranties.”
The specific instructions may vary somewhat but generally follow a similar pattern once you have the recommended cleaning product in hand:
- Dip a mop into a bucket with the cleaning product
- Wring it out completely, remembering that water is the worst enemy of wood (even sealed wood)
- Mop in the direction of the wood grain
- Empty the bucket when the solution becomes dirty and replenish it
- Go over the entire floor with a damp (meaning moist-only) rag
Treat tough stains
To erase scuff marks, try sprinkling a little baking soda on a damp sponge before wiping. For tougher stains and buildups, including glue and tar:
- Apply a small amount of peanut butter to the stain. The natural oil in peanut butter should break down the residue.
- Hold a few ice cubes over the stain with a rag and leave it there for at least 10 minutes to freeze the residue. Then you should be able to lift it with ease.
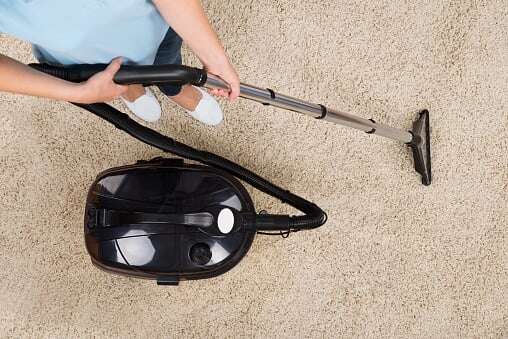
Keeping Carpet Clean
 Be Vigilant About “Daily Dirt”
- In addition to placing “shoe rugs” at your front and back doors, position mats, area rugs or runners along high-traffic areas. A kitchen, where food scraps can fall to the floor during preparation and eating, is a prime place for such back-up protection.
- Vacuum your carpet regularly, or at least once a week. Dirt cuts into carpet fibers, wearing them down and allowing them to absorb stains more easily.
- Make one vacuum pass over low-traffic areas and two passes – one horizontal and one vertical – over high-traffic areas for the best carpet cleaning results.
Clean Stains Immediately
- Blot stains with a clean rag or paper towel, starting from the outer edge and moving toward the center to avoid making the stain bigger. Then dampen the rag or towel with plain tap water and rub it into the stain. Most carpet stains can be removed with water – and repetition.
- Attack tough stains with club soda or an equal mixture of vinegar and water before using a commercial product. Vinegar and water is particularly good at removing pet stains and neutralizing odor.
- Deodorize your carpet naturally by sprinkling a light layer of baking soda and letting it settle into the carpet fibers for at least 30 minutes. Then vacuum slowly, first in vertically and then in horizontal motions.
Rent a Carpet Cleaner
- Vacuum the carpet thoroughly before and after cleaning. Pretreat stains in high-traffic areas.
- Resist saturating the carpet with water – one of the biggest risks rental cleaners pose. The other: a potential lack of suction power to extract dirt. So don't wait until your carpet becomes filthy; rent a carpet cleaning machine when the color begins to look dull.
Turn to the Carpet Cleaning Pros at Experts In Your Home
Eliminate the hassle and uncertainty of DIY cleaning methods and call Experts for carpet cleaning. Rental treatments often run the risk of leaving a soapy residue on your carpet that ironically attracts more dirt. Our cleaning experts move furniture, pretreat stains and safely deep-clean – not just surface-clean – your carpet to remove dirt, residue and allergens.
Contact us for a free carpet cleaning quote today.
Last but not least, don't Forget the Outdoors!
How to Clean Your Driveway, Sidewalk & Patio
Here are some tips for cleaning outdoor surfaces.Always Test a Treatment First
Concrete looks tough and resilient, and compared with a soft surface like carpet, it is. But just because it does not contain fuzzy fibers does not mean that concrete is impervious to cleaning treatments, either.
So treat concrete with care – just like you would a carpet – and test any chemical cleaning treatment in an inconspicuous place first. Let it dry, see how it looks and if you like what you see, proceed with the rest of the area. Expedite your home cleaning job by cleaning concrete when weather conditions are most conducive to doing so – or when it's warm, dry and sunny so that it can dry quickly and thoroughly.
Clean Dirty Concrete
You might be surprised, but sometimes all concrete needs is a good scrub with warm water and a heavy-duty brush to look good again. Choose a non-metallic brush because brushes with metal bristles often leave a trail of metal particles in their wake, and metal can rust and stain, thereby complicating your home cleaning task.
Scrub the dirty concrete in a circular motion and then douse the concrete with water. If the dirt stays put, try these steps:
- Treat the concrete with dish soap and water.
- Upgrade to a powder laundry detergent and water.
- Apply a scrubbing cleanser, such as Comet or Bon Ami.
- Exchange your brush for a pressure washer, starting over again with water alone and then working through the cleansers. (Note: there is a difference between pressure washers and power washers. They both depend on a strong surge of water to remove dirt, salt and other debris, but power washers also rely on heated With a thermostat gauge, you can literally turn up the heat on stubborn concrete stains, such as mildew and gum, with power washers.
Remove Mold and Mildew Stains
Unleash the surge of a power washer on mold and mildew. Water alone should work. If not, pair hot water with a mold-killing detergent or a mixture of bleach and water.
Remove Oil and Grease Stains
Turn to an alkaline degreaser to remove oil and grease with a power washer. Hot water should lift the oil from the concrete while the degreaser emulsifies the oil. Be sure to drench the concrete with water after the treatment.
Remove Rust Stains
Cleansers with oxalic acid are best equipped to remove rust. But be forewarned: depending on how deeply the rust has penetrated the concrete, this may be one of those times when you will be able to remove most, but not all, of a stain.
Remove Paint Stains
Begin with a citrus-based solvent to remove paint, progressing to methylene chloride and then potassium hydroxide. Be sure to read the directions on the cleanser; you may have to let it soak into the concrete for several hours before power-washing it.
You May Want Professional Home Cleaning
You may have heard of or even used muriatic acid on tough concrete stains. This potent chemical requires great care; it can cause skin and eye burns and respiratory problems if it is inhaled. This is why we recommend that you call the home cleaning professionals at Experts in Your Home instead of trying to work with it yourself. Muriatic acid really is best placed in the hands of the experts. In the end, sometimes tough concrete stains are, too. The Experts will attack it with gusto – so you can brace for a positive outcome.
.jpg)
.jpg)