 If ever there were a time that you urgently need an expert in your home, it's when you think you've found dry rot.
Any malady paired with the word “rot” understandably can incite fear. Experts in Your Home has eradicated such fear from many northern California homeowners – and we can do the same for you.
As with most household conditions that you encounter for the first time, dry rot can be less frightening when you learn what it is and where you're most likely to find it. Then take comfort in the fact that we're not known as Experts In Your Home for nothing.
Dry Rot is Different from Wet Rot
Dry rot occurs after moisture and fungus build up on timber, often over a period of time and usually in a poorly ventilated area. The result: the timber softens, breaks down and basically turns to a substance that can best be described as mush.
On one hand, you might think the condition would be called “wet rot.” And, in fact, wet rot exists, too. The difference is that dry rot develops on construction lumber, which is dried and cured as it is milled; wet rot develops on trees and uncured wood, which is why you're likely to find it in damp, shady areas of forest preserves.
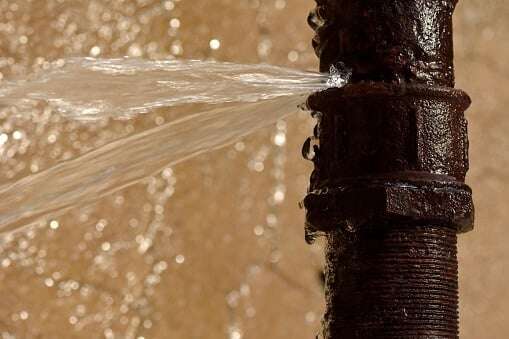
The Experts in Your Home have written extensively about the corrosive results of water damage – and the importance of tracing and fixing the source of the problem. This tenet holds equally true for dry rot. A leak or even a flood will not cause dry rot – as long as the problem is repaired and the area is thoroughly dried out. Dry rot is dependent on a lot of moisture building up on wood over a sustained period of time.
Home In On Areas Where Wood and Moisture Converge
Dry rot rarely is visible and exposed; it usually lurks inside walls and underneath floors and roofing. Its hidden nature requires you to inspect your home carefully and be watchful for:
Damp, musty smells
- Bubbling or blistering paint
- Discolored, water-stained, cracking or splitting wood
- Wood that feels soft when you touch it
Since moisture is a key element, you're smart to inspect those areas of your home that are most susceptible to dry rot, including near and around:
- Caulking, when it's used to seal joints on indoor and outdoor surfaces
- Deck
- Doors
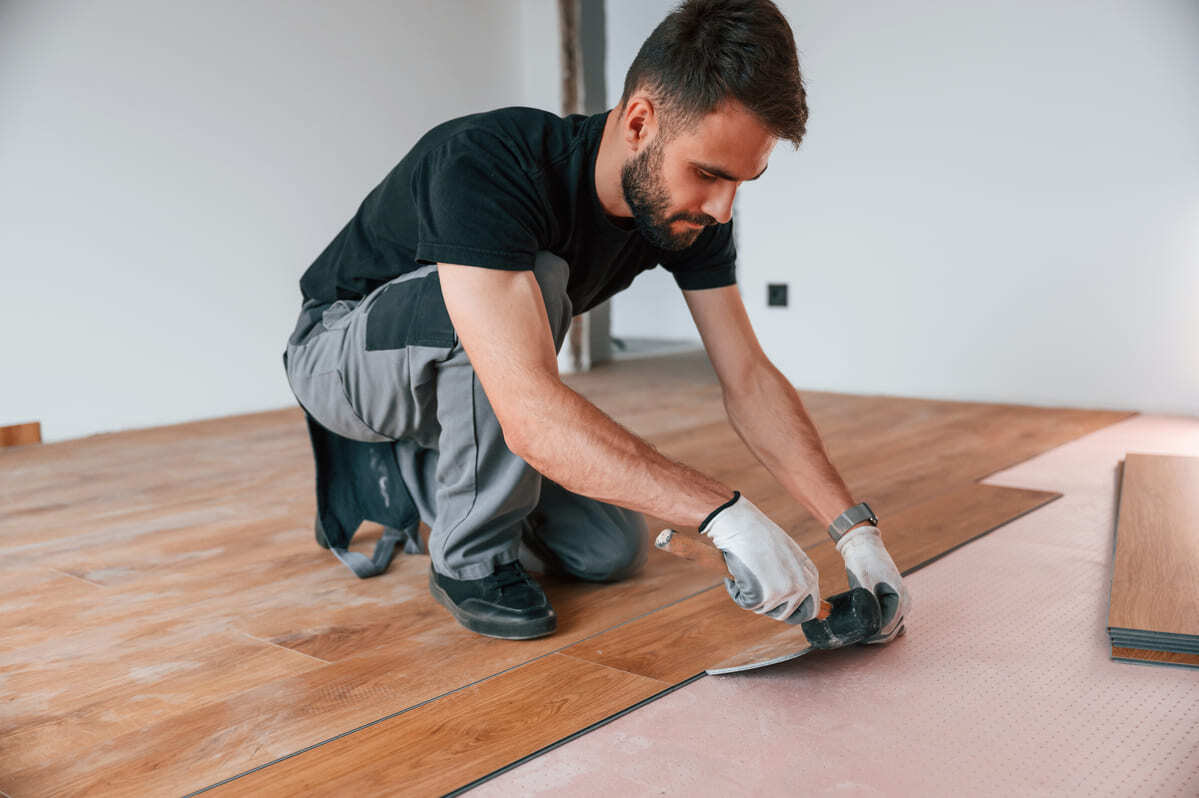
- Floors surrounding the base of your tubs and showers
- Porch
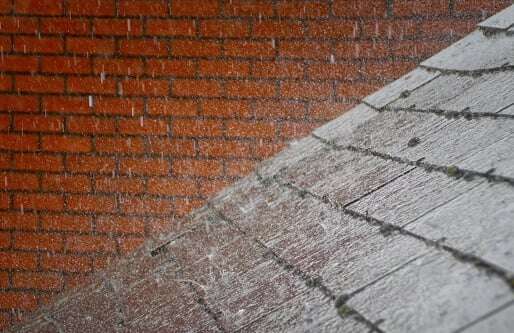
- Roof, near the edges where gutters are attached
- Shower walls
- Skylights
- Trim on the exterior of your home
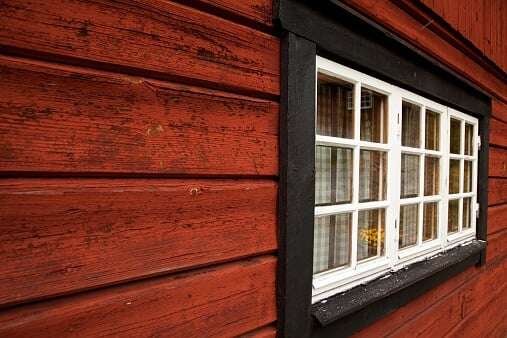
- Windows
- Wood siding
- Wood that rests on a concrete foundation or around the base of your home
The Experts Get to Work
Once confronted, wood rot “surrenders” quickly. Simply poke at it with a screwdriver to see how deep the wood rot has penetrated the wood. It should easily splinter and fall away with ease.
Depending on the severity of the wood rot infestation, Experts in Your Home often follows a four-step remediation process as we:
- Stop the source of the moisture and repair the problem – a vital step because wood rot can be an aggressive and progressive condition
- Expose the full scope of the wood rot
- Remove the old wood
- Treat the area with a fungicide to stop the fungus in its tracks and stem further damage
- Replace the wood
We hope these home tips on our blog have been helpful. Assessing and repairing dry rot takes experience and skilled hands – not to mention a bevy of special tools. Experts in Your Home has everything you need to stop wood rot from literally eating away at your home's structure. Call us for an inspection – and find out how comforting it can be to have an expert in your home when you need it most.


