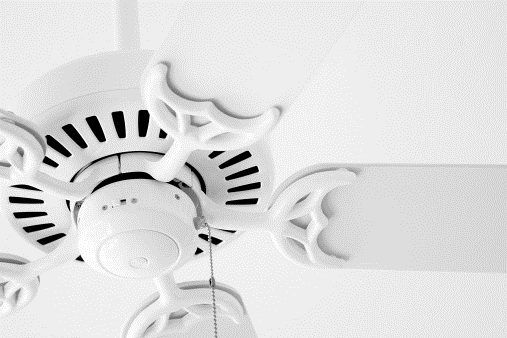
 There's a lot to love about ceiling fans, especially in the summer. Running a fan on “medium” or “high” produces a noticeable wind-chill effect that will make any room feel about 4 or 5 degrees cooler than the temperature on the thermostat, allowing you to "dial up" and save money on your utility bill.
In the winter, ceiling fans that rotate in a clockwise direction circulate warm air that naturally rises and settles there. So if your home has very high or vaulted ceilings, a ceiling fan will help moderate the temperature in your home.
And let's be honest: ceiling fans (without or without a light) inspire an aura of “Casablanca,” whether they're made by that namesake company or not.
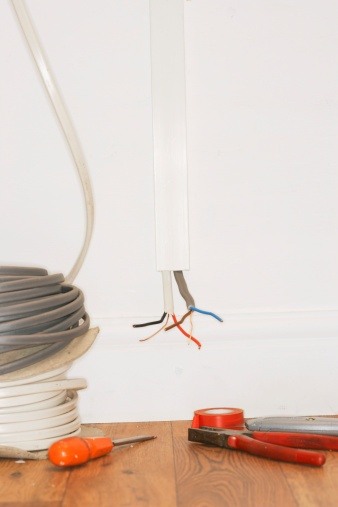
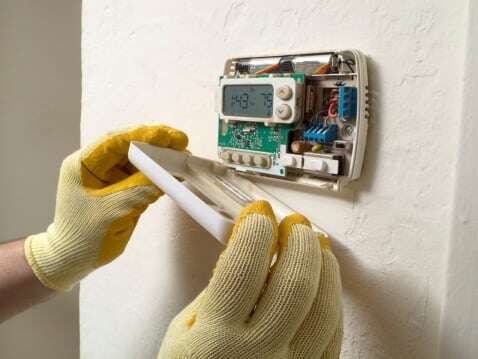
This is why installing a ceiling fan is the subject of this, the next installment in a series of articles on basic electrical repairs that Experts In Your Home is confident our customers can handle, as long as they read our instructions carefully, put safety first, take their time and check their work during the process.
The truth is: hanging a ceiling fan isn't a difficult electrical repair, but it can be a clumsy one, which is why it's best to proceed with a helper. (We assume here that you're installing a ceiling fan where a light fixture and wiring was in place, but remember that a ceiling fan must be anchored with a ceiling box to adequately support the weight of a fan).
Tools and Instruments You'll Need
- Ceiling fan
- Ceiling outlet box
- Expandable brace bar
- Ladder
- Pliers
- Safety glasses
- Saw
- Screwdriver
- Utility knife
- Voltage tester
- Wire connectors
- Wrenches
Steps to Installing a Ceiling Fan
As with any electrical repair, we follow the “better safe than sorry” rule, so be sure to conduct an inventory of the parts in the ceiling fan box before beginning. More importantly, turn off the power to the fan at the fuse box (not just at the switch). Now you're ready to:
- Put the brace into the hole in the ceiling and place it perpendicular to the ceiling joists. The brace should touch the joists on both sides, and the legs of the brace should rest on top of the drywall.
- Tighten the brace into place until the box is flush with the ceiling.
- Attach the box by affixing the U-bolt assembly to the brace. The assembly should be centered, with the bolts facing down. Pull the cable through the cable connector and into the box. Tighten the nuts to secure the box.
- Thread the wires through the mounting plate. Tighten the plate onto the ceiling.
- Tightly screw on the downrod (the extender). Slide on the canopy and bulb (if any).
- Suspend the fan from the hook on the mounting ring. Then connect the wires: white to white, black to black and the grounding wire to the green lead wire of the fan or grounding screw. Secure the connections with wire connectors and bundle them inside the ceiling box.
- Affix the canopy to the mounting plate. (This is where an assistant can help you support the weight of the fan while you work.) Push the wires into the ceiling box so that they do not vibrate against the canopy. Tighten the screws to prevent the fan from wobbling.
- Attach the blades to the fan, and do so slowly so that you don't risk bending the blades in the process.
Remember that Experts In Your Home's Chico electricians are here to help your best efforts—to heat up your enthusiasm for this electrical repair and cool down any unexpected issues you may encounter along the way.
Related Articles:
DIY Electrical Repair: How to Safely Change a Lightbulb
DIY Electrical Repair: How to Replace a Light Switch
Stay safer at home - download this FREE Guide to electrical jobs you shouldn't DIY:


